

Turning a product idea into a tangible reality often begins with a 3D model. This digital representation is crucial for visualization, prototyping, and ultimately, manufacturing. However, for entrepreneurs and small businesses, the process of hiring 3D modeling makers can seem daunting without a clear understanding of what’s needed. The key to a successful project lies in thorough preparation and clear communication.
Approaching a freelance designer or a 3D modeling service without a well-defined vision can lead to delays, revisions, and increased costs. By understanding what information a designer typically needs upfront, you can streamline the process, ensure your vision is accurately captured, and move your product development forward efficiently.
Why Preparation is Critical for Your 3D Modeling Project
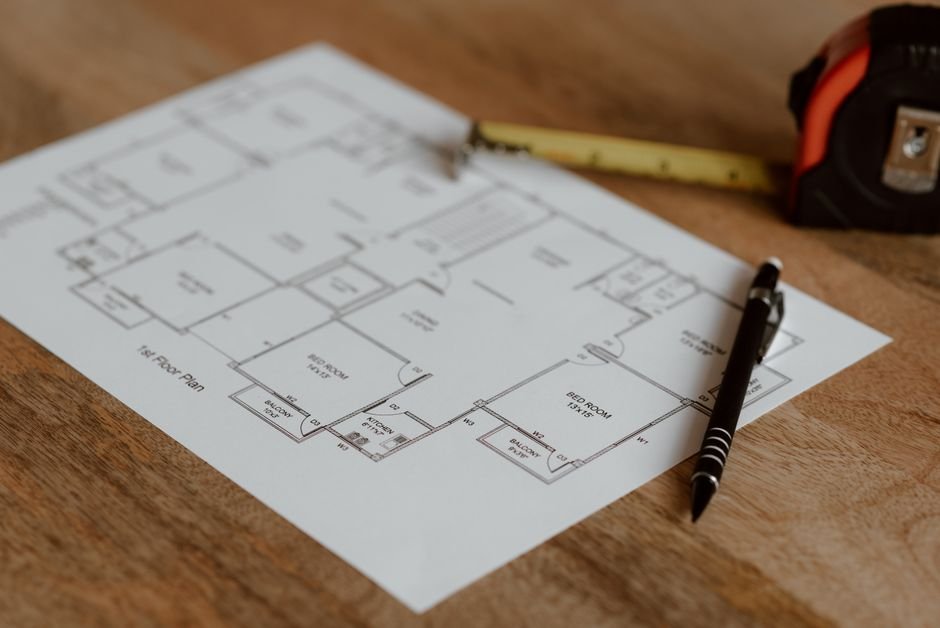
Imagine building a house without blueprints – it would be chaotic, expensive, and unlikely to meet your expectations. The same principle applies to 3D modeling. A 3D modeler, often referred to as a ‘maker’ in our marketplace, relies on your input to translate your abstract idea into a precise digital asset. The more detailed and comprehensive your initial brief, the less guesswork there is for the maker, leading to:
- Accuracy: A model that closely matches your concept.
- Efficiency: Faster turnaround times and fewer rounds of revisions.
- Cost Savings: Avoiding extra charges for significant changes mid-project.
- Better Outcomes: A 3D model that is suitable for its intended purpose, whether it’s for custom CAD design services for prototyping or direct manufacturing.
Before you even begin to explore 3D modeling services, gather the following essential information.
Key Information Your 3D Modeler Needs Before Starting
1. Sketches and Concept Drawings
Even if you’re not an artist, basic sketches are invaluable. These can range from rough doodles on a napkin to more detailed hand-drawn or digital illustrations. The purpose is to convey the product’s overall form, aesthetic, and any specific design elements you envision. Don’t worry about perfection; focus on clarity. What does it look like from different angles? Are there any unique features or shapes?
Why it’s crucial: Sketches provide a visual foundation for the maker. They help them grasp your product’s general appearance, proportions, and stylistic direction, guiding the initial modeling process.
2. Precise Dimensions and Measurements
This is where your product idea starts to become concrete. Provide as many specific measurements as possible, including overall length, width, height, thicknesses of components, diameters of holes, and radii of curves. If your product needs to interact with existing components (e.g., fit into a specific slot or hold a certain battery), include those critical interface dimensions.
Why it’s crucial: Accurate dimensions are fundamental for creating a functional 3D model. They ensure parts fit together correctly, meet ergonomic requirements, and are suitable for downstream processes like manufacturing. Without these, the maker will be guessing, potentially creating a model that’s useless for its intended purpose.
3. Comprehensive Reference Photos and Visuals
Pictures speak volumes. Collect images of products that inspire your design, items with similar functionalities, or even specific textures, colors, or finishes you’d like to emulate. These don’t have to be direct competitors; they can simply illustrate aspects of design or material you appreciate.
Why it’s crucial: Reference photos help the maker understand your aesthetic preferences, desired visual style, and the overall feel of the product. This prevents misinterpretations and helps them create a model that aligns with your brand identity.
4. Intended Use and Functionality of the Product
Clearly explain what your product does, how it works, and who will be using it. Will it be handheld? Does it need to withstand impact? Are there moving parts or an assembly process involved? Does it need to house electronics or other internal components?
Why it’s crucial: Understanding the product’s function is paramount. It informs critical design decisions related to structural integrity, ergonomics, component clearance, material suitability, and assembly. A maker needs to know if a part needs to be rigid, flexible, waterproof, or easy to grip to design it appropriately.
5. Planned Manufacturing Method
This is one of the most technical yet critical pieces of information. How do you intend to produce your product? Common methods include 3D printing (FDM, SLA, SLS), injection molding, CNC machining, casting, or sheet metal fabrication. Each manufacturing process has specific design rules and limitations that must be incorporated into the 3D model.
- 3D Printing: Requires consideration for layer orientation, support structures, wall thickness, and print volume.
- Injection Molding: Demands draft angles, consistent wall thicknesses, radii for strength, and consideration for mold parting lines and ejector pins.
- CNC Machining: Needs designs that account for tool access, cutter diameters, and material removal constraints.
Why it’s crucial: Designing for manufacturing (DFM) is essential. A model perfectly suitable for 3D printing might be impossible or extremely expensive to injection mold. Informing your maker of the intended manufacturing method from the outset ensures they design the model with these constraints in mind, saving you significant time and cost down the line. If you’re unsure, discuss potential options with the maker, explaining your budget and volume goals for the product.
6. Material Choice (If Known)
While often tied to the manufacturing method, specifying the desired material (e.g., ABS plastic, aluminum, stainless steel, flexible TPU) provides further constraints and opportunities for the maker. Different materials have varying strengths, weights, thermal properties, and aesthetic qualities.
Why it’s crucial: Material properties directly impact the design. For example, a part meant to be made from a flexible material will be designed differently than one made from rigid plastic or metal to achieve the desired performance and durability.
7. Target Audience and Market
Who is your product for? Is it a high-end luxury item, a rugged outdoor tool, or an affordable gadget for everyday use? Understanding the target demographic helps guide aesthetic choices, perceived quality, and ergonomic considerations.
Why it’s crucial: The target market influences the overall design language and user experience. A maker can better tailor the visual design and functional aspects when they understand the end-user’s needs and expectations.
8. Budget and Timeline Expectations
While not strictly design information, providing a realistic budget and timeline helps makers scope the project appropriately and propose solutions that fit your financial and schedule constraints. Be transparent about your flexibility in these areas.
Why it’s crucial: This enables makers to provide accurate proposals and manage expectations, preventing misunderstandings and ensuring the project remains viable for both parties.
Prepare Your Project, Then Find Your Maker
Compiling this detailed information before you begin the search for a 3D modeler will significantly improve the efficiency and success of your project. It empowers you to communicate your vision clearly and confidently, allowing makers to provide more accurate proposals and deliver a 3D model that truly meets your needs.
Once you have all your project details in order, you’re ready to connect with skilled freelance designers. 3DGigs specializes in helping entrepreneurs and small businesses find the right talent for their product development marketplace needs. You can easily submit your project on 3DGigs, outline your requirements, and receive proposals from various makers who can bring your well-defined product idea to life. Don’t forget to review our guide on how to find the right custom 3D modeling services to further refine your search, or browse current projects to see what others are commissioning.